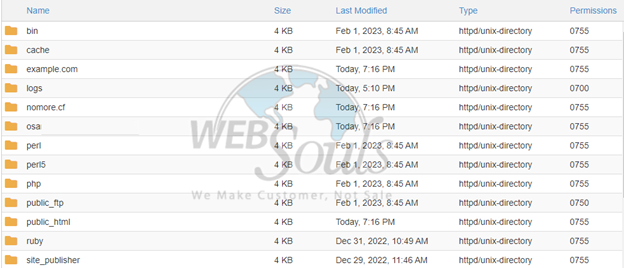
When dealing with system administration of a website, you should always back up your files and directories to prevent loss. But not every file or the directory requires a backup, and you know that unwanted items will only use your time, storage, and bandwidth.
The following instructions will help you through a way of excluding particular files and directories from the cPanel backup.
If you follow these steps you will be able to achieve that you can back up your web site in the most efficient way and with the least time consumption – backing up only what is most important. Let's get started:
Step 1: Log in to cPanel
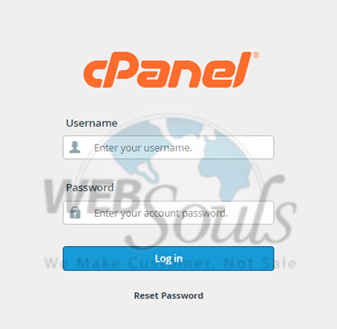
To log in to cPanel, please, insert username and password assigned by the server administrator. Make sure that you have the correct login credentials given to you before proceeding. If you have challenges of login, first ensure you are entering the right username and password since they may be in lowercase or uppercase. For more help, please refer to the users guide at the bottom or contact help desk. Having the right login information is very important when it comes to accessing and handling the cPanel account on your website.
Step 2: Select File Manager
Now, in the files section look at the list and click on the “File Manager”. It is located in the first column at the very top as it is placed right next to the ‘Images’ tab. The File Manager enables you to easily organize, arrange, and retrieve documents and other files. This entails uploading new files, creating new folder, transferring a file from one folder to the other and deleting unwanted files.

Step 3: Click the ‘‘File Option’’
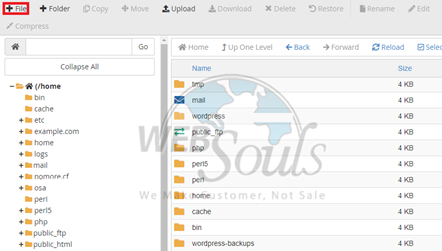
Next, locate the top left side of the page. There, you will see the "+File" option, positioned next to the folder icon. Click on "+File" to proceed. This will allow you to create a new file, essential for organizing your documents and ensuring you can easily find and access them later. Remember, keeping your files well-organized is crucial for efficient project management and smooth workflow.
Step 4: Create New File
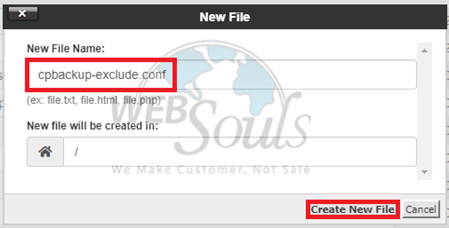
This will create a pop-up window on your screen with a title ‘New File’. The next field concerns the filename of your choice, which you should type in the corresponding box. When you have entered the name look for the ‘Create New File’ option at the bottom of the pop-up. Click at this option to complete the process and go to the next step. This action will close your new file with the implemented name and is useful for future editing or use of the file.
Step 5: Select Backup Life
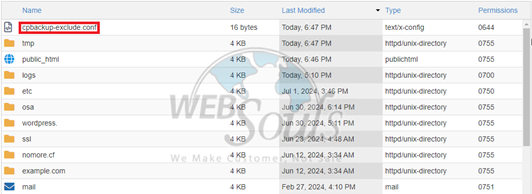
Now you can easily locate your specific file at the top of the list. Simply select it to view detailed information. Alongside the file name, you'll find essential details including the file size, last modified date, file type, and permissions. This comprehensive view allows you to quickly assess the file's attributes and manage it more effectively, ensuring you have all the necessary information at your fingertips.
Step 6: Choose Save Changes
Once you have chosen a file, locate the “Save Changes” button located at the top right corner of the page near the close button. Click on the “Save Changes” button to make and apply the changes you have just made. This step makes sure all prior adjustments are saved and will be visible in the modified data file. Remember to also check whether all your changes are correct before saving in order to prevent any mistakes.

Step 7: Verify Exclusions
To guarantee that your exclusions are properly set up, you should perform a manual backup by selecting the fullaccountbackup option. Once the backup process is completed, review the backup contents thoroughly. It’s crucial to ensure that the files and directories you specified for exclusion are not included in the backup. This step will help confirm that your exclusions are functioning correctly and that no unintended files or directories are part of the backup.

Step 8: Process Completion
Now, your specific file or directory in your cPanel has been successfully excluded from the backup files and features list. If you want automatic backups, go to the “Backup” area and you may set up the desired backup configuration. By using the cpbackup-exclude.conf file, you guarantee that the future automatized backups will systematically exclude the files and directories you have excluded. This arrangement makes it easier for you to back up what is needed, and what is not needed does not consume storage space. Always check for changes on your backup settings in line with changes of your data files and or your backup needs.
